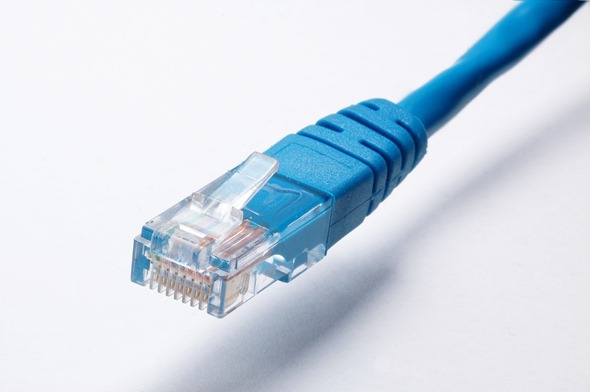
It is fun and easy to make CAT5 cables. With a little carefulness and practice, anyone can quickly become a pro. The advantage of making CAT5 cables is they are the exact length needed. There is no waste of wire and no extra clutter. Buying cheap CAT5 cable in bulk, then adding connectors is less expensive than buying predetermined lengths with connectors already on them.
The Tools needed are:
- a tape measure
- a wire stripper/cutter
- a crimping tool
- a cable testing device
The supplies needed are:
- enough Cat5 wire to do the job
- enough RJ45 crimpable connectors (one for each wire end)
STEP 1 Prepare the Ends of the Wires
Strip about one inch of only the outer gray plastic sleeve from one end of the wire, being careful not to cut or damage the smaller wires inside. The crimping tool has a razor to do this.
STEP 2 Put the Wires in Correct Order
Unwind the wires. Using the Lan cable color code, put the wires in the correct order depending on the type of connection needed.

There are two types of CAT5 cable connections and each is wired differently:
1. Straight-through
These cables make network connections between two different devices, such as those between computers, routers, switches and hubs. They are the most common. For straight-through connections, the wire patterns are the same on both ends and follows a pattern called 568B.
560B wire Colors from left to right are:
white orange
orange
white green
blue
white blue
green
white brown
brown
Note: The Green pair is not side-by-side.
2. Cross-over – These are less common, special-purpose connections used to directly connect twolike devices such as connecting two computers together without going first through a router or other device. For cross-over connections, the wire pattern is different on each end. One end follows the pattern 560B given above in number 1. The other end of the wire follows the pattern called 560A given below. Make sure each end is different according to the colors given.
568A wire Colors from left to right are:
white/green
green
white/orange
blue
white/blue
orange
white/brown
brown
Note: The Orange pair is not side-by-side.
STEP 3 Add the RJ45 Connectors to Each End
After the wires are neatly aligned in order by correct color, use scissors to cut them all to an equal length of exactly one-half inch exposed from the outer plastic sheath.
Push the ends of the wires fully into the RJ45 connector as far as they can go. Make sure all wires reach the end and a small portion of the plastic sleeve enters the connector. Once the connector is crimped, this holds both the wires and the plastic sleeve firmly in place.
Crimp the RJ45 connector onto the wire using the crimping tool. Measure the cable needed, add a little extra, then repeat the process above to put a connector on the other end of the cable taking care to put the wires in the correct order.
Note: There is a length limit of 100 meters (328 feet) for CAT5 cable.
STEP 4 Test the Cables
Check the cables before using them with the cable-testing device.
+Katrina specializes in server products leading the IT industry for custom racking design at racksolutions.com

